Showing posts with label how to. Show all posts

How To: Pairing your Controller to your Phone

After our recent COD: Mobile review... some of you were wondering how you pair game controllers with your device. I even connected one for an older gamer (game on!)... so I figured this could be useful to some of you. These are the two I've paired... so I'm going to focus on the PS4 controller and the Xbox controller (I connected to Android phones).

  • Start off by making sure your PS4 controller isn't paired to your... PS4.
  • Go to your phone settings by swiping up through your icons until you see the little cog icon marked "Settings" or swipe down at the top of the screen to show the dropdown menu. That should have a little cog icon as well.
  • Go to "Bluetooth & device connection".
  • Turn on your Bluetooth (Duh of the day)
  • Select "Pair new device"
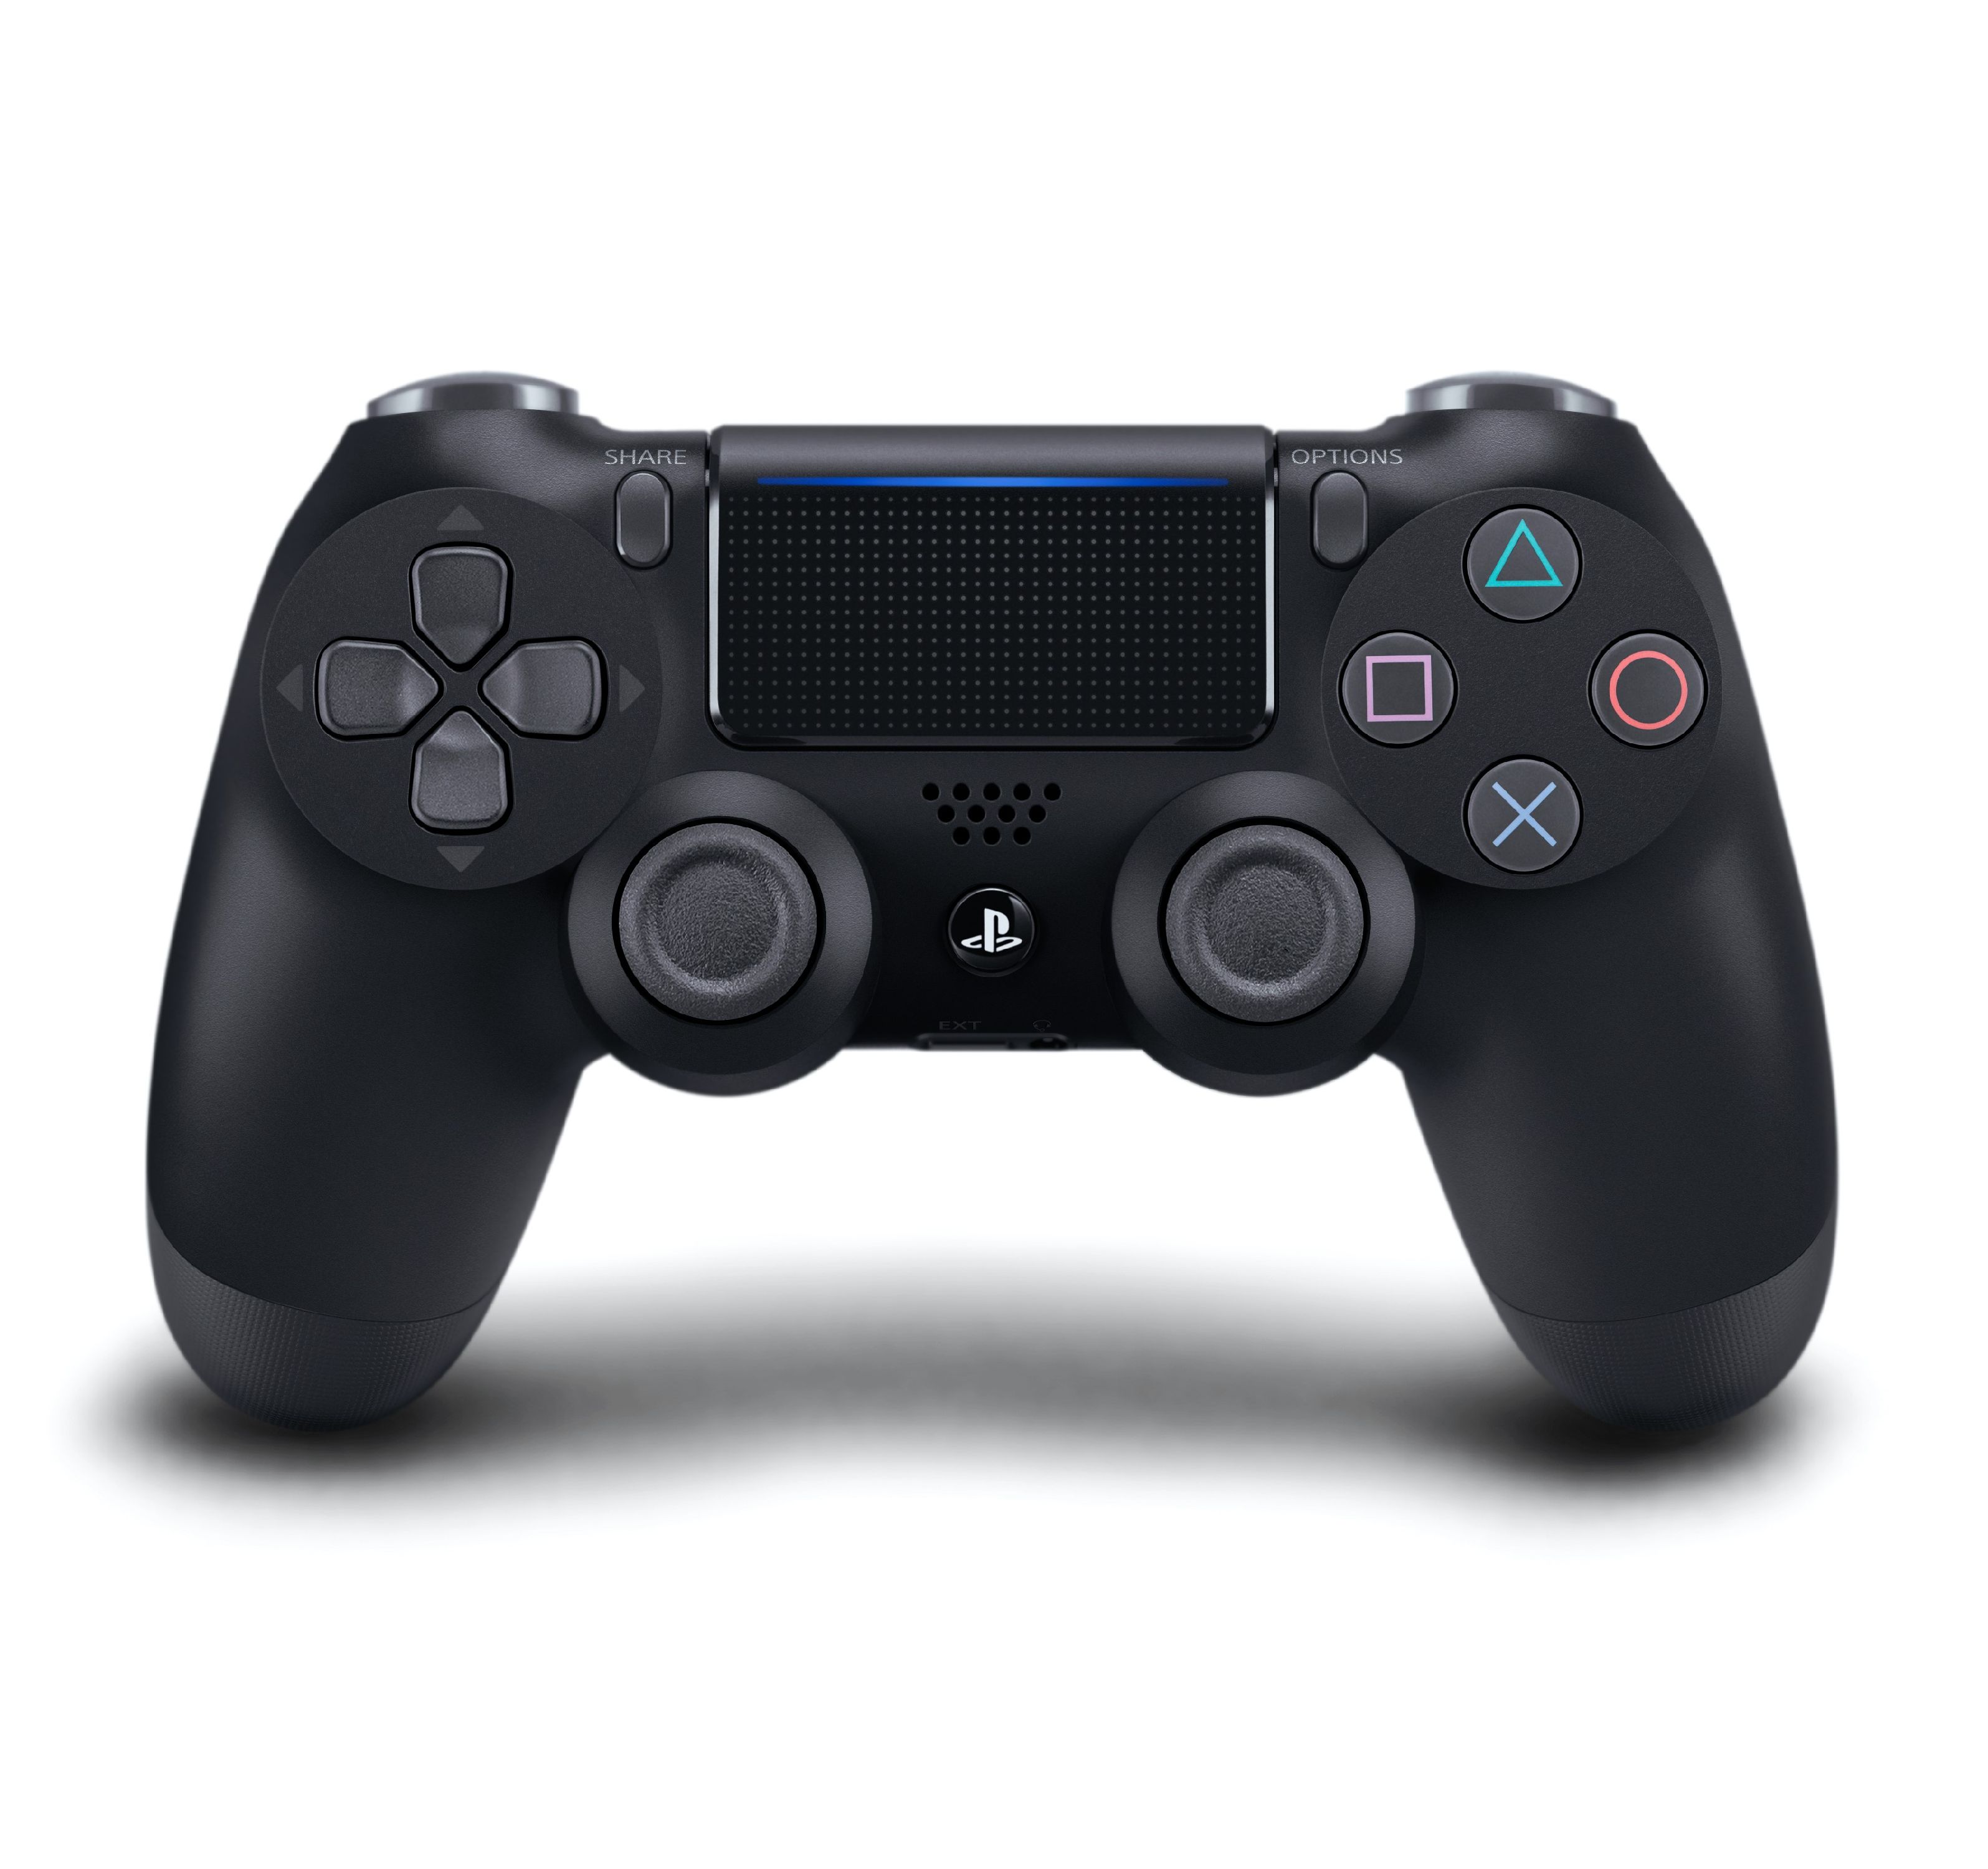
  • Grab your PS4 controller and press the "Share" button and the Playstation "Home" button (the one with the Playstation logo) and hold them both until the player light on the top of your controller begins to blink... then you're ready to pair.
  • Once you see "Wireless Controller" or equivalent, press it to pair and... you're ready to game!!!
  • If you don't see "Wireless Controller" or something similar in name pop up, refresh, or go back and then click on "Pair new device" again.


  • Start off by making sure your Xbox controller isn't paired to your... Xbox or PC.
  • Go to your phone settings as mentioned above.
  • Go to "Bluetooth & device connection".
  • Turn on your Bluetooth.
  • Select "Pair new device"
  • Grab your Xbox (One/PC) wireless controller and turn it on by pressing the Xbox "Home" button represented by the Xbox logo. (This is a little simpler than the PS4 pairing.)
  • Once you see "Xbox Wireless Controller" press it to pair and... you're also ready to game!!!
  • If this didn't prove successful, follow the step above highlighted in yellow... but you will be looking for "Xbox Wireless Controller".
Some of you might think... duh, but everyone isn't you or me. There are parents, grandparents, and others looking for solutions like this to bring a little light to someone who may not be able to afford a console (medical bills can mount up quick).

This can also be a great option for gamers (kids to adults) in and out of the hospital for treatments like dialysis, chemotherapy, and more. So with that said, share the link... and give the gift of gaming in the new year! HAPPY 2020!


LEXIP Mouse Ceramic Glide Feet Mo42... Reviewed!


Today we have the opportunity to review a product by LEXIP. The LEXIP Mouse Ceramic Glide Feet Mo42! These little ceramic circles go on the bottom of your PC mouse and the company claims that they upgrade the gliding quality of the mouse. 

If you look at the bottom of your mouse right now, you will see those little bumps near the corners of it to help with gliding. LEXIP's product is meant to be the upgrade to those, and with this review, you will find out if they can do the job as advertised.

Before I was able to test these out, I had to put them on a mouse. I whipped out one of the two alcohol wipes and cleaned the entire mouse, and then I washed my hands. I used the soft cloth to dry it and take off any lint lingering around.

The instructions say that the six ceramic pads have a self-adhesive base, but that's not true. They have separate double-sided adhesive circles in the box and you have to put those on the bottom of the feet before you put them on the mouse. 

I think the easiest way to do it is to take off the adhesive from the sheet and hold the sides between your pointer finger and thumb. Take the ceramic foot and hold it the same way on the other hand, then have one group of fingers horizontal and the others verticle. Press them together and now the ceramic feet have a self-adhesive base.

You have to take the paper off the top of the adhesive to put it on the bottom of the mouse for the last step. I was good until this point because I thought I messed it up, but I didn't peel it off correctly. The main con I have is the adhesive set up, it should've been on there but whatever!

After I defeated the adhesive process, there wasn't anything else to do but to test these things.


I didn't doubt the product, but they work better than I expected. I didn't have to put the effort into pushing the mouse, it just slides.

Check out my handy work. The big circles are the ceramic feet.

So is it a real upgrade to the mouse? Yeah, it moves it around faster and smoother. This product will be appreciated by the gamers more than the office worker, but both will like it. The only thing I don't like is the price. $19.99? They can be transferred from mouse to mouse with new adhesive, but I think they should sell them for $9.99. I wouldn't care about transferring my old ones to a new mouse if these were just $10.

Overall, these are good add-ons for any mouse that can really upgrade an already great peripheral. I'd want to see what other types of mice are out there for an additional $19.99, but these really do work. If you like your mouse and you want better movement, LEXIP has a real solution.


Usefulness 5

Quality 5

Setup 4

Price 3

4.25 out of 5 Cool Points


Brought to you by the... Baby Fu Clothing Co!
Clementine D Cosplay Hat